Overview
There are several series from fellow Microsoft Evangelists on using MonoGame for your Windows 8 Store apps. I don’t want to duplicate what they have already done, so instead I’ll refer you to them below. These articles should give you a good start on using MonoGame to build your next game for Windows 8. Go ahead and read through these articles before continuing, I’ll be waiting for you after the fold. ![]()
from Bob Familiar :
Windows 8, XNA and MonoGame – Part 1, Overview
Windows 8, XNA and MonoGame - Part 2, Getting Started
Windows 8, XNA and MonoGame - Part 3, Getting Windows 8 Store Ready
and Tara Walker,
Great, now you have enough background to dive a little deeper into MonoGame using Visual Studio 2012. What I want to show you in this post is how to make using MonoGame a little easier and more like what you may be used to if you are an XNA Game Studio 4.0 user.
Both Bob and Tara mention the fact that MonoGame currently does not have a build-time implementation of the Content Pipeline. In other words, you have to use the XNA GS 4.0 Content Pipeline projects in order to build your content. Building you content will take you images and other assets and transforms them into files with the .xnb extension.
Nearly every article or post you will find on the internetz will have you either use VS 2010 or VS 2012 with the Windows Phone SDK to build your content, then manually copy the content into your Windows 8 Store project so it can be found by the MonoGame content pipeline at runtime. To say the least this is a tedious, error prone and disruptive part of the development process.
There is a better way, and you will not need VS 2010 anymore, unless you are converting an existing XNA GS 4.0 project, which is a topic I’ll cover in a later post. With a few minor changes to your MonoGame project file, you can get your content to build and be placed in the correct folder for proper deployment.
The unfortunate part of this at the moment, is that this recipe will not work for the Express Editions of Visual Studio. I’m working on a post that will explain this and provide the best workaround that I can, stay tuned.
Ingredients List
Make sure you have the following products installed :
- Visual Studio 2012 Express for Windows Phone 8 & SDK
- Visual Studio 2012 Professional or higher
- MonoGame 3.0 Beta
Recipe
-
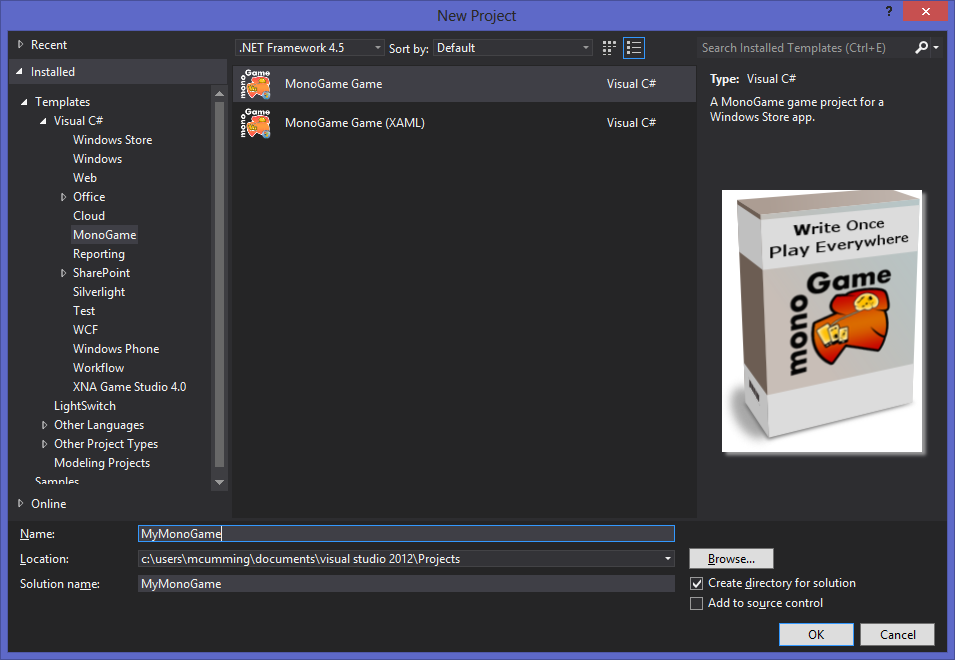
Create new MonoGame project and solution
-
Open Visual Studio 2012

-
Create a new MonoGame Project
-
File –> New –> Project [CTRL-SHFT-N]
-
Select “MonoGame Game” from the Visual C# / MonoGame category
-
Give your Game Project a name, folder and solution name

-
Click “Ok” to create your game project
-
-
-
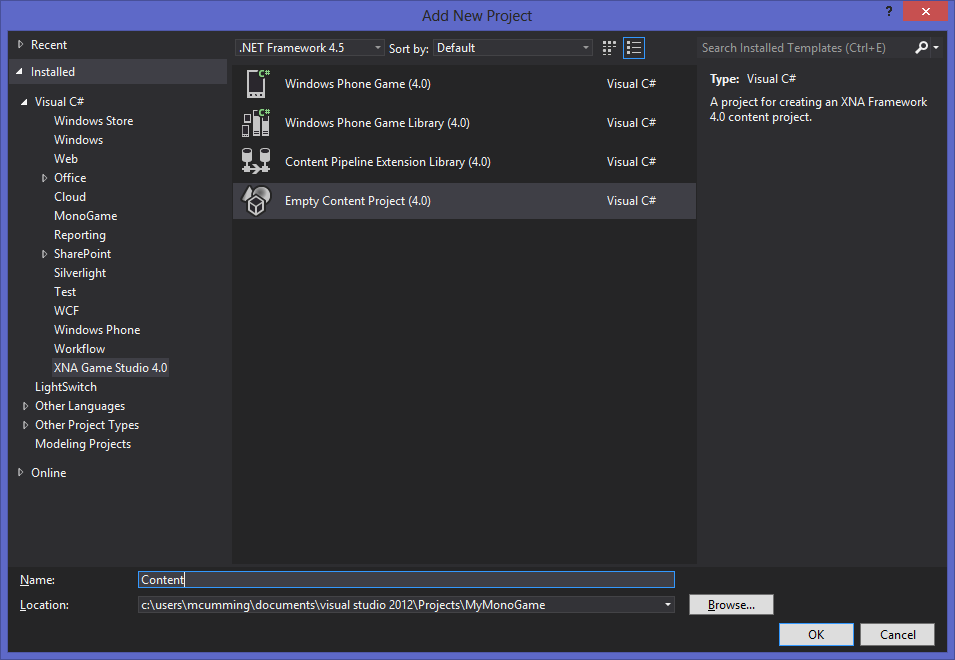
Add Empty XNA Content Pipeline Project
-
File –> Add –> Project
-
Select the “Empty Content Project(4.0)” template from the Visual C# / XNA Game Studio 4.0 category
-
Name the project “Content”

-
Click “Ok” to create your new content project
-
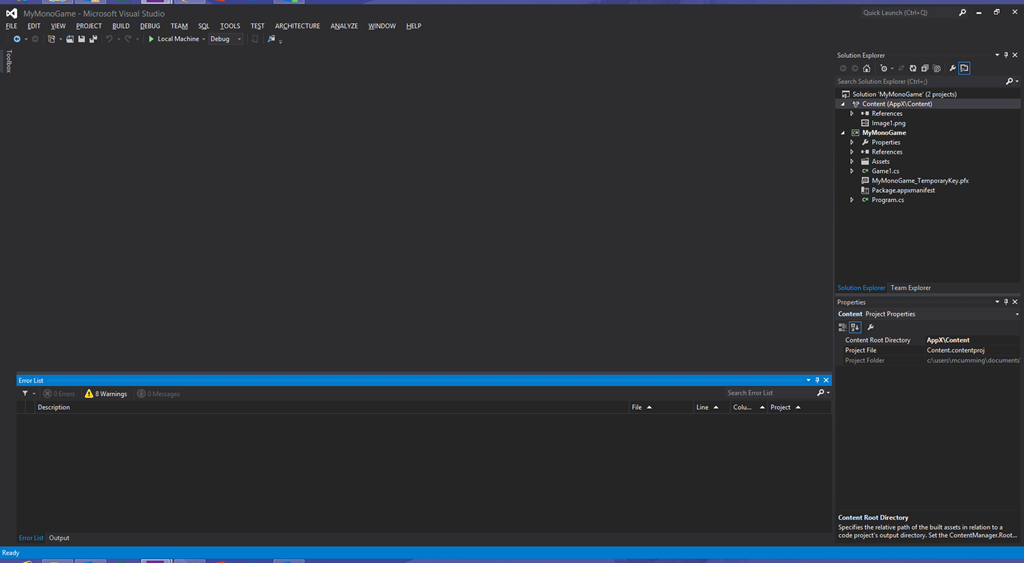
Modify the Content Root Directory When the content builds, it will build into the output folder of the referencing project ( which will be the MonoGame project ). In XNA the game assembly was at the root and the content was in the Content folder under the output folder. In Windows 8, the application has to be packaged before it can be deployed, so the content has to be put into the packaging folder to be properly deployed. The packaging folder is called “AppX” and exists under the output folder.
-
Select the Content Project in Solution Explorer
-
In the Properties window, change the “Content Root Folder Property” from “Content” to “AppX/Content”

-
-
-
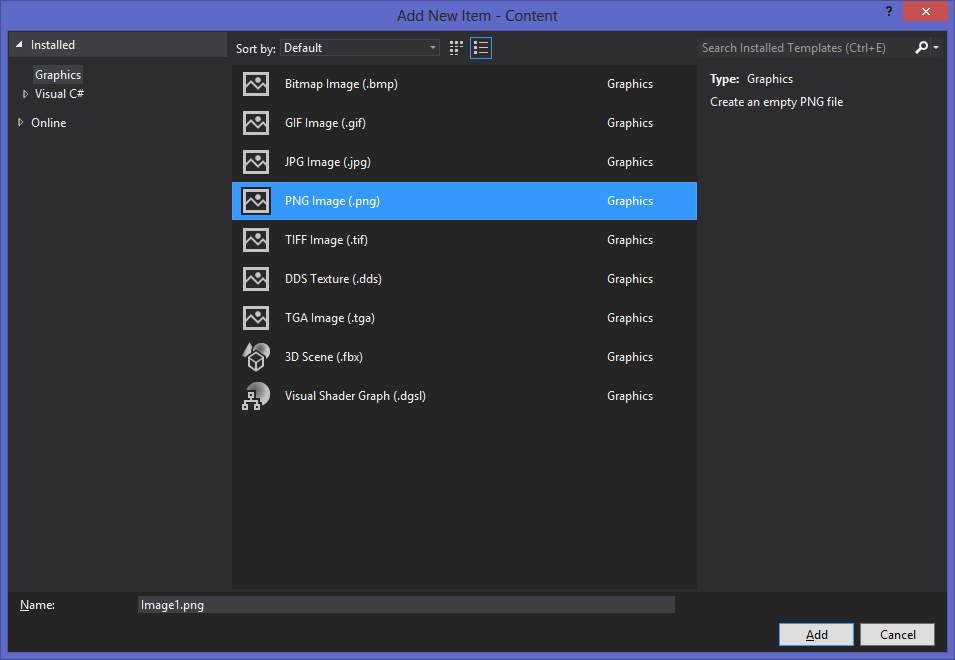
Add some test content New to Visual Studio 2012 is the ability to create game assets from within the IDE itself. We’ll use this feature to create a texture to test with.
-
Right-Click the Content Project
-
Add –> New Item[CTRL-SHFT-A]
-
Select “PNG Image (.png)”

-
Click Add
-
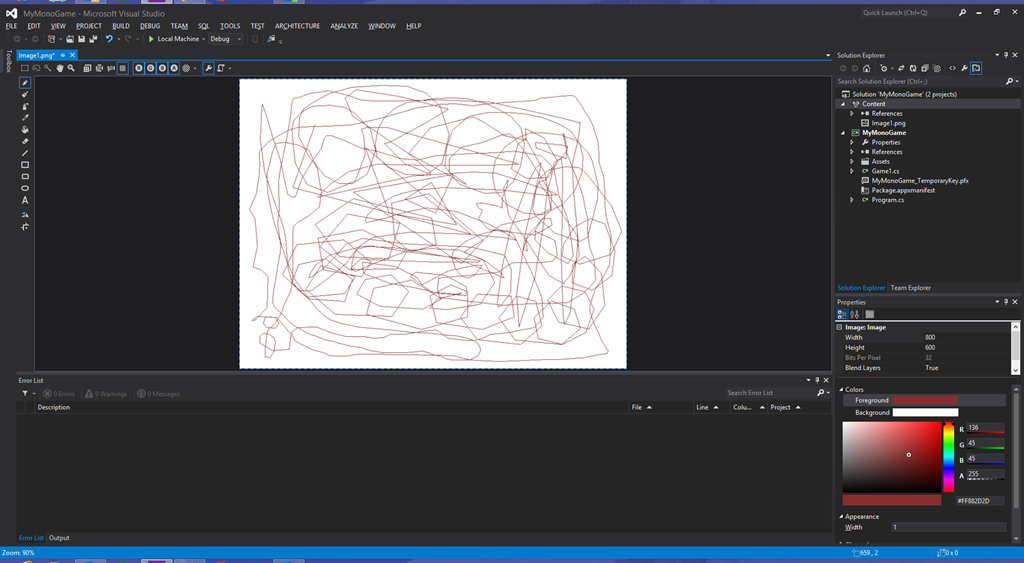
Use the image tools to draw something in the new image.

-
Save your Changes [CTRL-S]
-
-
Modify MonoGame project file Now we need to hook the Content project to our MonoGame project so that building the MonoGame will build our content.

-
Unload the MonoGame project
-
Right-Click the MonoGame Project
-
Select “Unload Project”
-
-
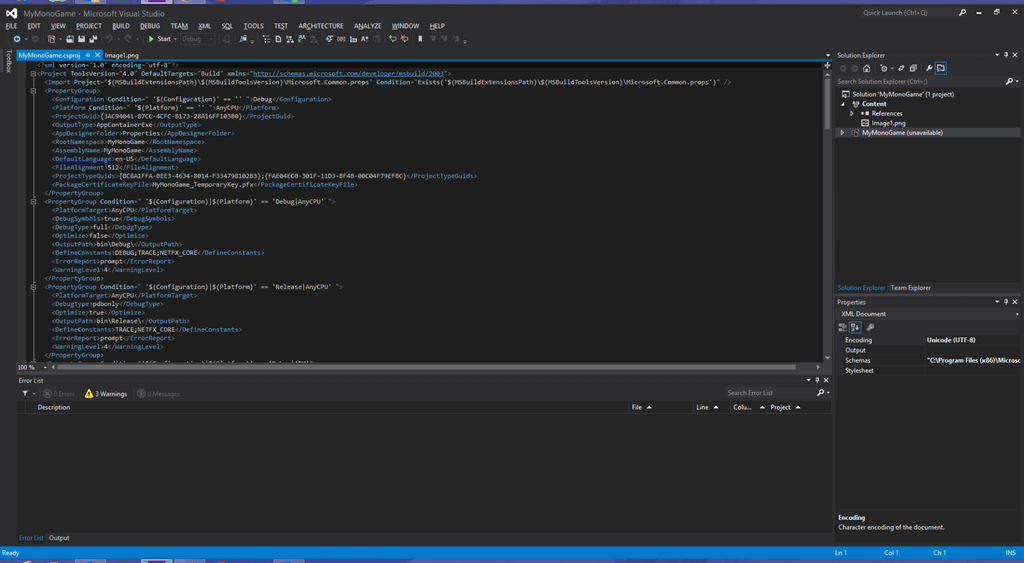
Edit the MonoGame Project File
-
Right-Click the MonoGame Project
-
Select “Edit MyMonoGame.csproj”
-
-
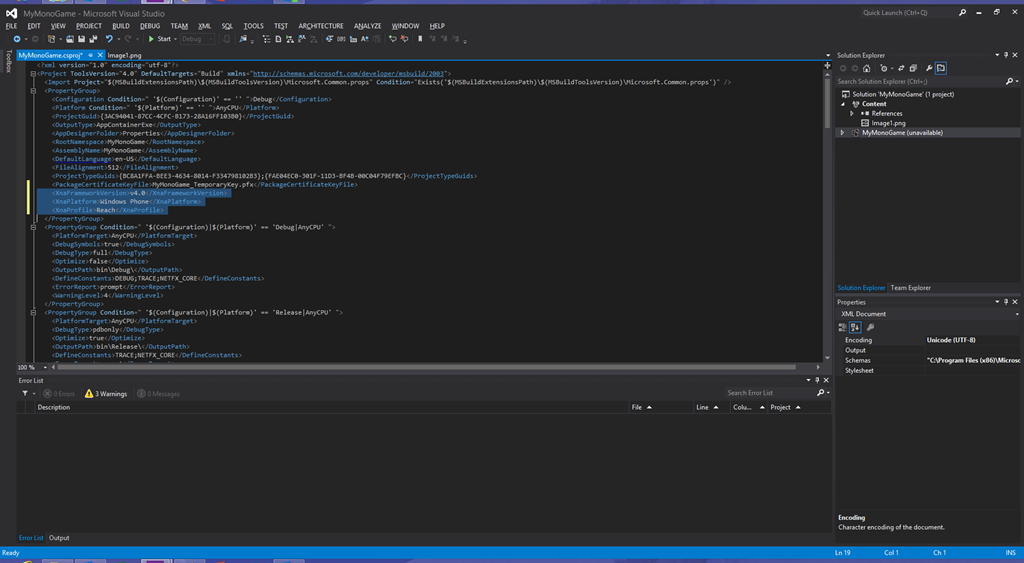
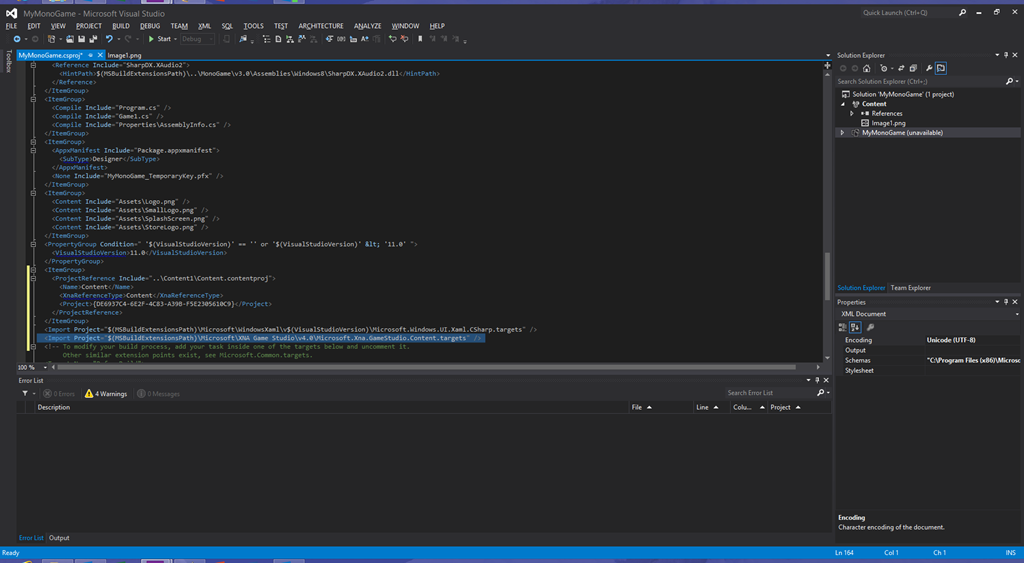
Add XNA Build Properties Add the folowing properties the the first PropertyGroup element in the MyMonoGame project file
<XnaFrameworkVersion>v4.0</XnaFrameworkVersion> <XnaPlatform>Windows Phone</XnaPlatform> <XnaProfile>Reach</XnaProfile>
-
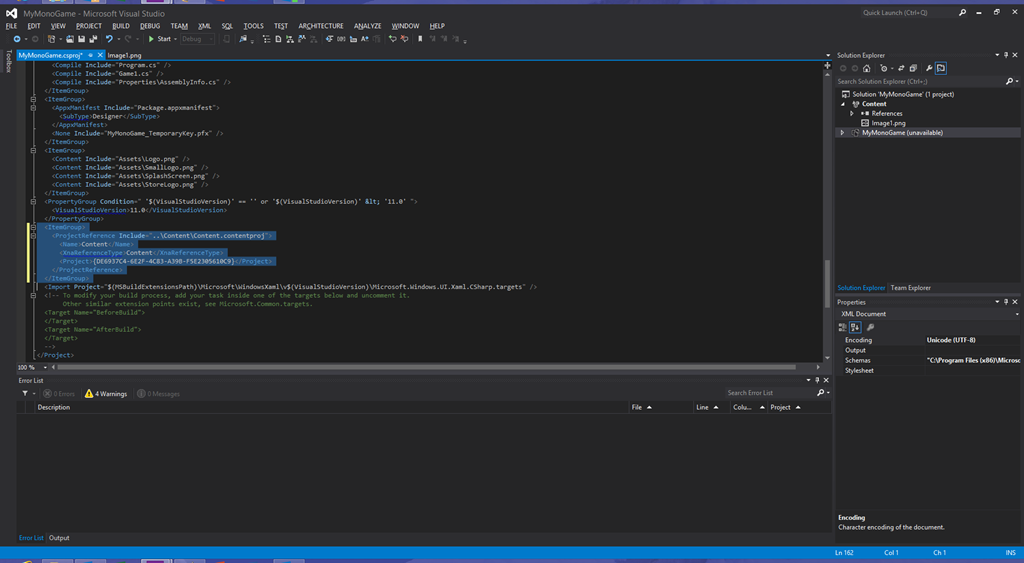
Add XNA Content Project Reference Now scroll to the bottom of the file and add the following lines before the last Import element.
  <ItemGroup>
    <ProjectReference Include="..\Content\Content.contentproj">
      <Name>Content</Name>
      <XnaReferenceType>Content</XnaReferenceType>
      <Project>{DE6937C4-6E2F-4C83-A39B-F5E2305610C9}</Project>
    </ProjectReference>
  </ItemGroup>
-
Add the XNA Content Pipeline targets Finally, after the last Import element add the XNA Content Pipeline targets import which will extend the build process and allow the content to be built with the Game project
<Import Project="$(MSBuildExtensionsPath)\Microsoft\XNA Game Studio\v4.0\Microsoft.Xna.GameStudio.Content.targets" />

-
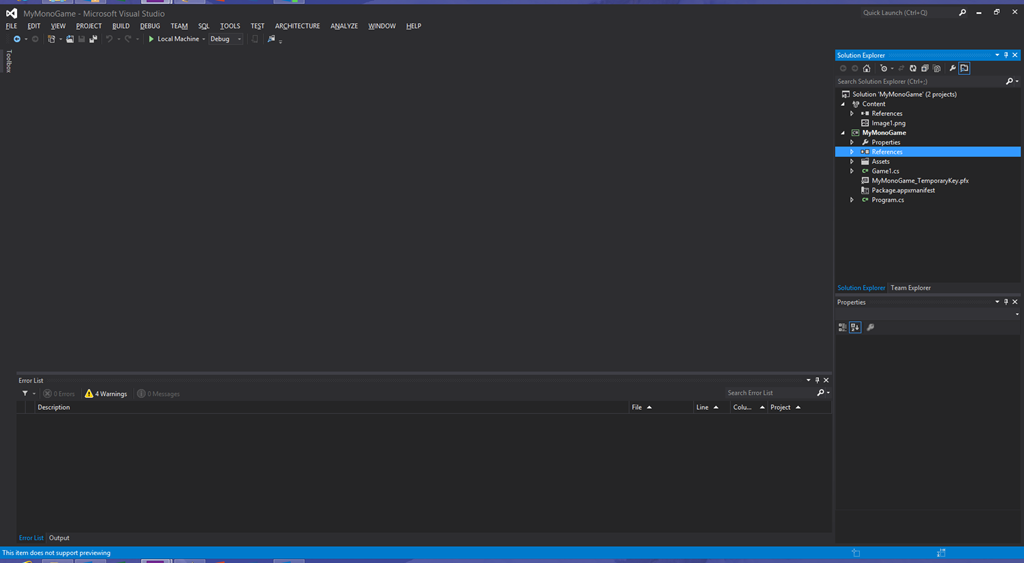
Reload the Project
-
Save and close the currently open csproj file [CTRL-S] [CTRL-F4]
-
Right click the MonoGame project in Solution Explorer
-
Select “Reload Project”

-
-
-
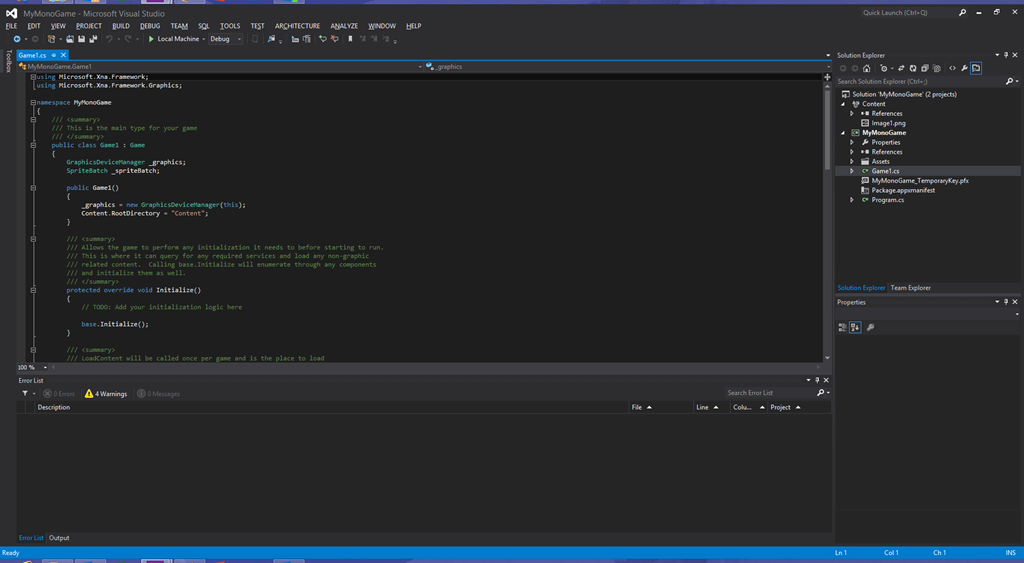
Write some test code At this point everything should be wired up properly to build and deploy the project and content together. Lets make a few changes to our game class to see if it is all working properly.
-
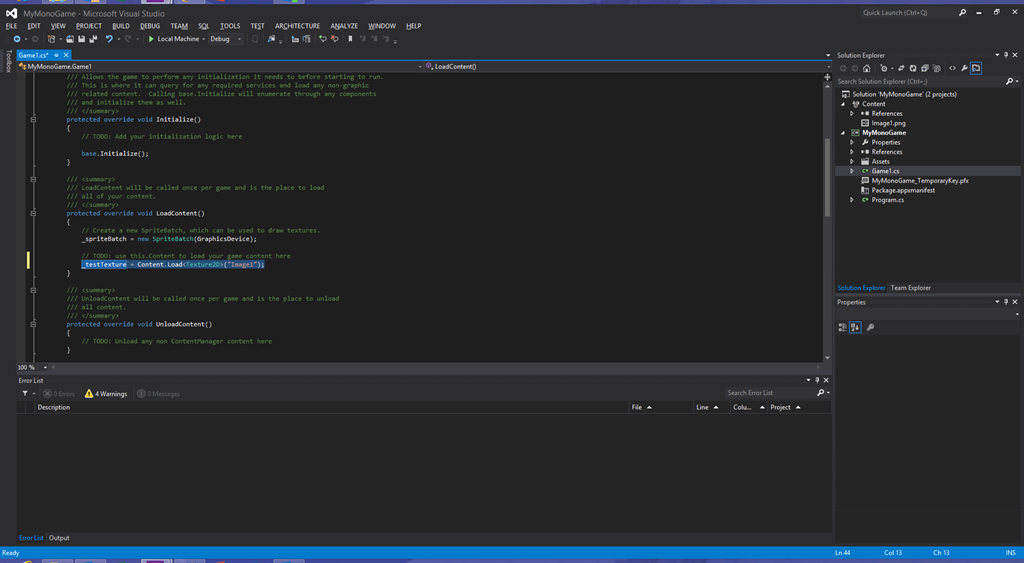
Open the Game1.cs file

-
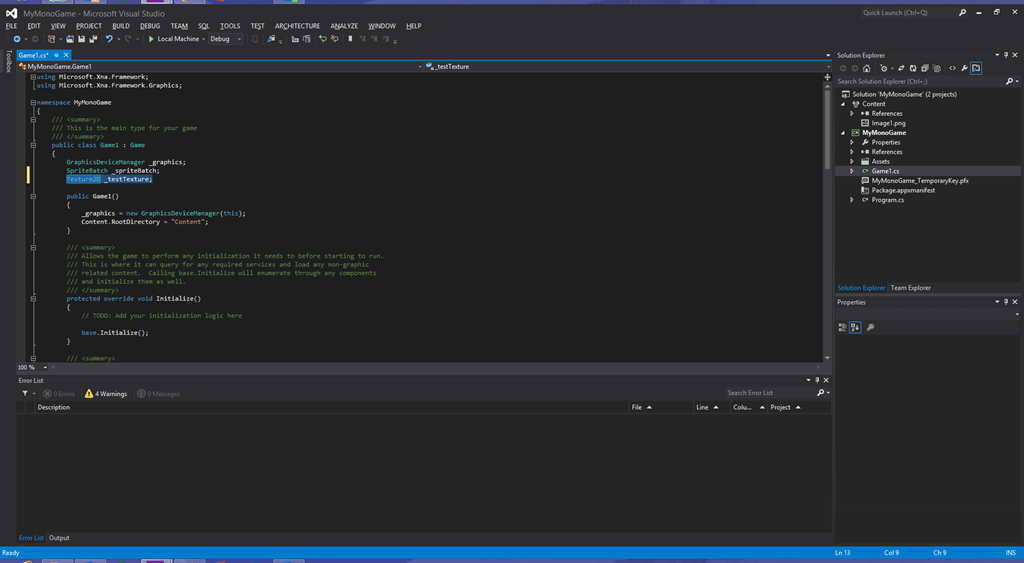
Add a Texture2D field
Texture2D _testTexture;

-
Load the Texture2D asset into the field In the LoadContent method after the TODO comment add:
_testTexture = Content.Load<Texture2D>("Image1");
-
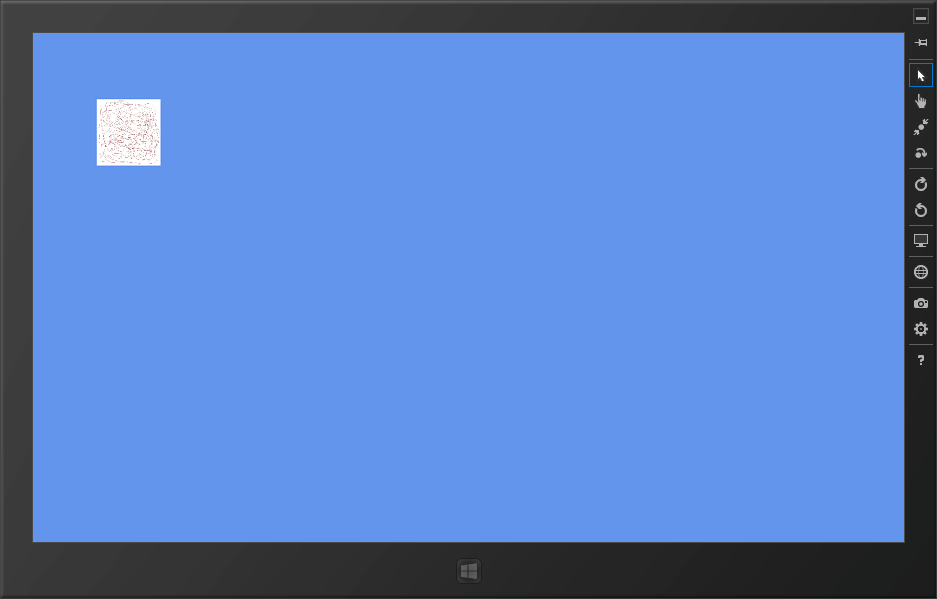
Display the Texture2D on the screen using SpriteBatch. In the Draw Method, after the TODO Comment but before the base.Draw call:
_spriteBatch.Begin();
_spriteBatch.Draw(_testTexture, new Rectangle(100, 100, 100, 100), Color.White);
_spriteBatch.End();

-
-
Build + Test You know what to do…[F5]
 If you have problems and need to make a few changes, sometimes it appears that they don’t seem to take. In that case try doing a clean then rebuild.


Wrap Up
With these changes in place, you can now enjoy the edit, build, deploy, test cadence that you were used to with XNA Game Studio. No longer do you need to switch between two instances of Visual Studio and manually copy files into the packaging folder.